
Since there are so many new members in this group, I thought it might help to repeat my system on what I do to organize and make some sense of all those scraps.
As some of you know, the scrap fairy must come at night and multiply all of our scraps! So if you wake up some morning and your scrap bin is overflowing what do you do? First of all take a few minutes, take a deep breath, and then iron those scraps flat. I make a small pile on the corner of my cutting table (not the whole bin! maybe an inch or two high) so they are available when I have a few minutes to start cutting. If you don’t love cutting scraps, set a timer for 10 or 15 min…..cut for that long….and then do something you like. Play a game, every time you have to trim or cut something….cut a few of those scraps. Got 5 min. before you have to leave, or make dinner or take the laundry out of the dryer?…cut some scraps! Before you know it the pile will be gone and you’ll have to iron some more scraps and your bin will be looking empty. Remember, when you are cutting pieces for a new quilt don’t throw those odds and ends in the scrap bin……cut them up right away and get them usable! You wouldn’t dirty all the dishes in the house before you washed them or wear every piece of clothing in your closet before you did the wash, would you? Probably not! Sometimes I just don’t want to get into a project or I just want something mindless to do. So cut up those scraps before the pile gets out of hand and you are overwhelmed!
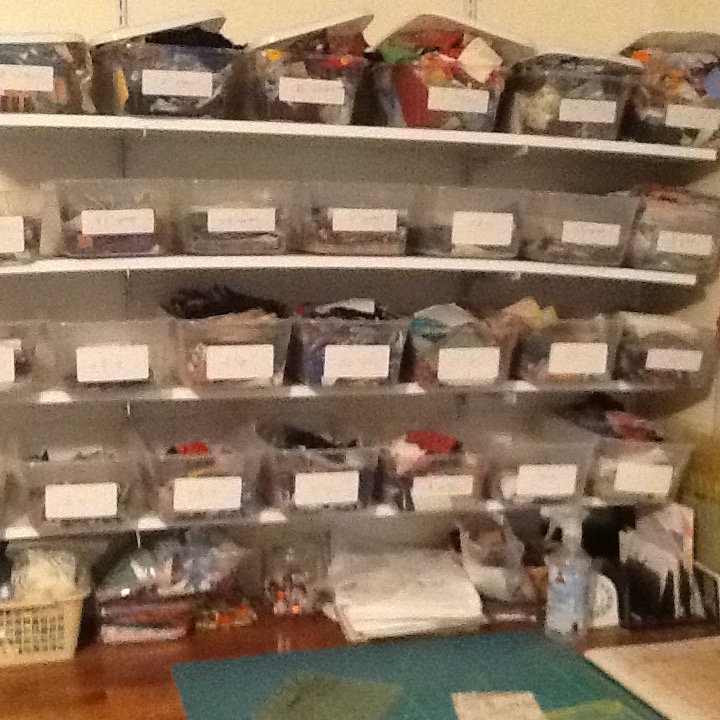
So, how and where should you start? If this is new to you, first, think of the size squares that you use all the time. Probably 2?, 2 1/2?, 3?…..you decide. OR you could be like me and just cut everything! Yes, I mean I cut a lot of sizes…. from 1 1/2? to 6?. When I first started to organize my scraps I had a cork board on the wall behind my cutting table. I marked sandwich bags and pinned them to the board. As I cut a square it went into the appropriate bag. I have since graduated to plastic shoe boxes from the dollar store. I also keep various size strips and half square triangles.
No wall behind your table(?)…use those salad boxes from the grocery store, brown paper lunch bags or whatever. Don’t be intimidated! The object here is to get those scraps into a manageable state so they can be used. As someone said at one of my talks, I’m basically making a kit for a future quilt. And it’s true. Don’t you love a kit? When I have enough of a certain size…when my box gets full…..I start thinking about what I can make and lo and behold….another scrappy attitude quilt is in the works! When I see a quilt pattern that I like I automatically think…how would this look scrappy? Hmmmm!
Lets define what is a scrap. To me, anything smaller than a fat quarter is probably a scrap. Anything larger gets folded up and put in the stash. Sometimes, if I have a ragged edge on a large piece of fabric, I will “even” it off and add that as a scrap. Ok, so you ask, how do you cut them?? After I have ironed my scrap nice and flat, I determine the largest square I can cut from it (6? is the largest I save although if it is really large and I want to get rid of it I often cut 10? squares). I cut as many as I can get. Then, I cut the next largest size square and I work my way down size wise until I have a scrap smaller than 1 1/2? square. Some people sew those crumbs together but anything I cannot squeeze a 1 1/2? square out of goes into the dog/cat bed pile. If the scrap is width of fabric I will cut strips.
I do not sort by color, only by size, because I like the way ALL the colors work together in my quilts. I do have a stash that is sorted by color but I like my scraps “all mixed up”! And I put everything in my scrap boxes……thirty’s prints, civil war, batiks, children’s, stripes, dots, Christmas…..everything goes into my quilt. If it’s ugly…cut it up! If the print is too big…cut it up! I do not discriminate! In the grand scheme of things, it all works and guess what! When you are putting those blocks together…… it doesn’t need to match! You can get over your matchy match self. Get out of your box, live dangerously and have some fun! Yes, it will all go together….trust me! Just cut those scraps! The key to eye catching, dynamic scrappy quilts with attitude is diversity. On occasion I do “audition” what goes together but it is just a quick glance and if it absolutely is not what I’m looking for it goes in line for the next selection. I try to not have like colors, patterns or prints in the same square or next to each other in adjoining blocks. Value and intensity is important to achieve that diversity and pop to make your quilt stand out and have that winning scrappy attitude.
I know, a lot of people have their own system of how they like to do things and I applaud you if yours works for you. This is mine. I’m not in a race to see how many quilts I can pump out each year. My scrappy attitude quilts are a labor of love. Each of my pieces are cut individually (and lovingly, lol) cut and accumulated over a period of sometime years. Each one is fondled and remembered, both when they are cut and then again as they are sewn. Can you hear the violin music playing in the background…..lol! You’re probably thinking “Oh, oh,….she’s lost it!”……..but I’m just havin’ fun! LOL! I LOVE my scraps and making my scrappy quilts!
I hope this has helped some of you to get organized and keep ahead of the game. Have fun and Happy Quilting!